Sometimes it’s convenient to manage another computer on a local network — running commands, updating projects, accessing files. Especially if both devices are running macOS. Fortunately, macOS already has a built-in SSH server, so you can easily set up a secure network connection.
In this article, I will show you how to connect via SSH from one macOS computer to another, as well as how to do it using SSH keys.
Why is this needed?
SSH (Secure Shell) allows you to connect to another device on the network and manage it through the terminal. This can be useful for:
- working with projects hosted on another device;
- automating tasks;
- accessing a Mac mini used as a server;
- or just to avoid getting up from the couch.
What you will need
- Two macOS computers located on the same local network (via Wi-Fi or Ethernet);
- Terminal access on both devices;
- Username and password on the target computer.
Step 1: Enable SSH on the Remote macOS Computer
On the computer you want to connect to:
- Open System Preferences → Sharing;
- Enable the Remote Login option.
Now this computer will listen for incoming SSH connections.
Step 2: Find out the IP address of the remote computer
Open the terminal on the target computer and run:
ifconfig | grep inetLook for an address of the form 192.168.x.x — this is its local IP. For example: 192.168.1.42.
Alternatively: go to System Preferences → Wi-Fi → click on your network → and the IP address will be there.
Step 3: Connect via SSH
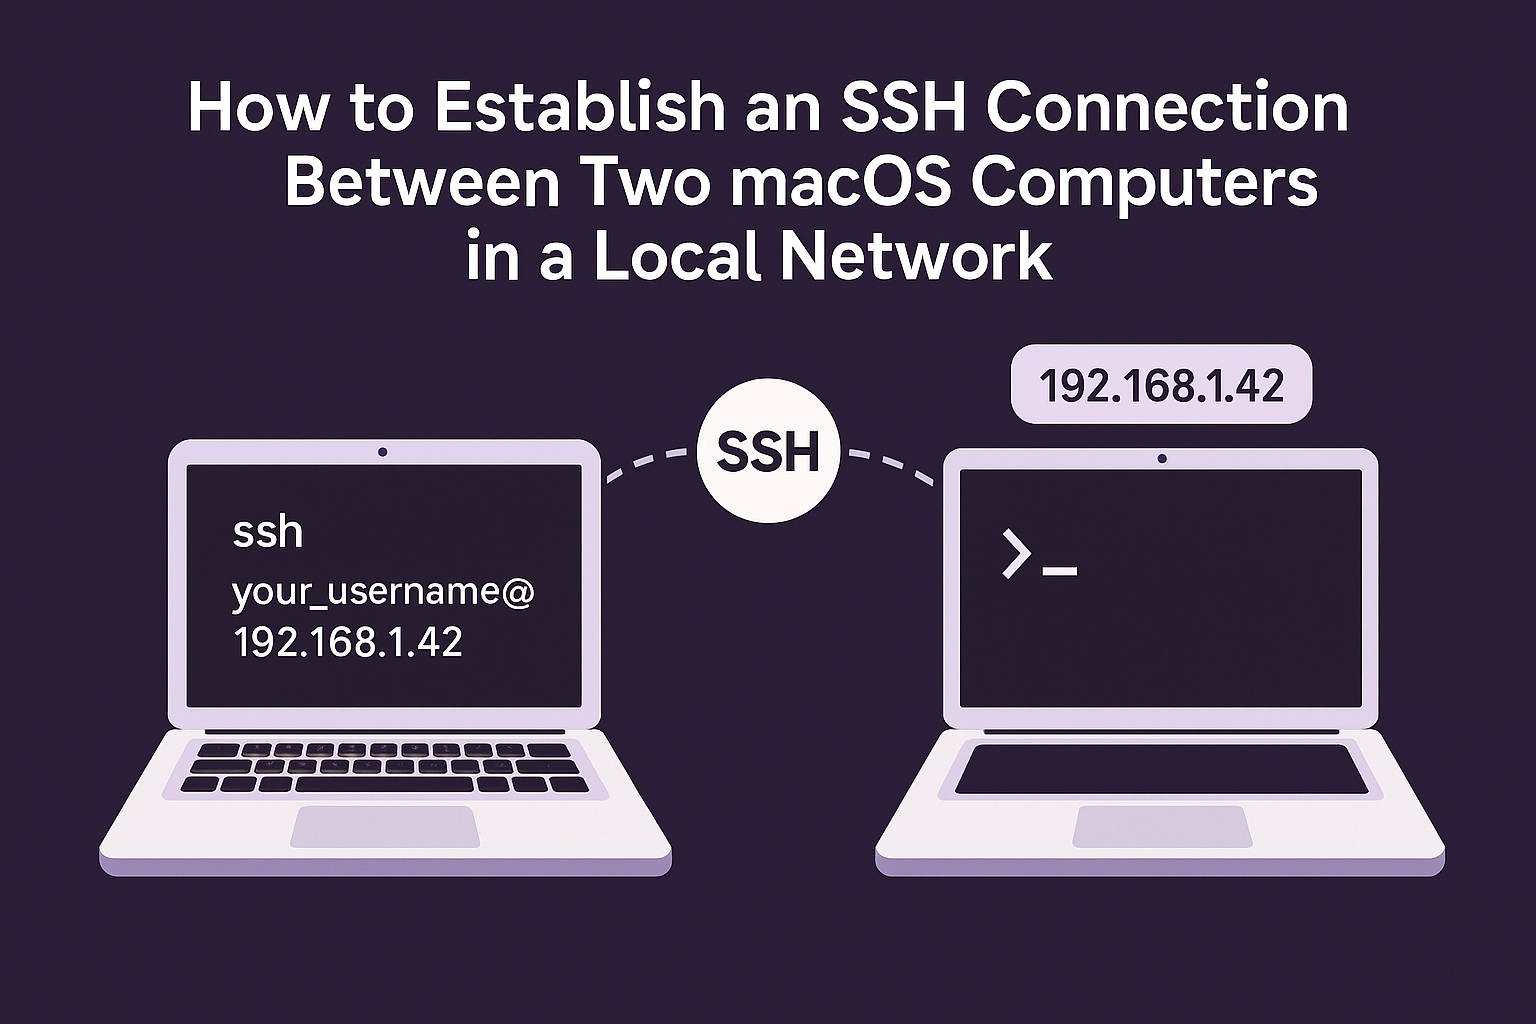
Now return to your main computer and in the terminal enter:
ssh username@192.168.1.42Replace username with the account name on the remote computer, and the IP with the one you found in the previous step.
On your first connection, you will see a confirmation message. Type yes, then enter the password.
Congratulations! You are now in the terminal of another computer.
Setting Up Password-less Connection Using SSH
To avoid entering the password every time, you can set up SSH keys.
Step 1: Create a Key on Your Computer
ssh-keygen -t ed25519Press Enter to save the key in the default folder. Optionally set a passphrase (or leave it empty).
A pair of SSH keys will be created:
- ~/.ssh/id_ed25519 — private key (only for you, do not share with anyone)
- ~/.ssh/id_ed25519.pub — public key (this is the one that gets copied to the second Mac)
After you generate the keys, you need to copy the public key to the second Mac.
Step 2: Copy the Key to the Remote Computer
ssh-copy-id username@192.168.1.42
Now on your next connection, you won’t have to enter a password — authentication will occur using the SSH key.
Conclusion
Now you know how to connect via SSH to another macOS computer on a local network. This simple yet powerful tool will save you a lot of time, especially if you work with multiple devices.
If you frequently switch between computers or use macOS as a home server, SSH will become your best friend.
If you found this article helpful — share it with friends or bookmark it!